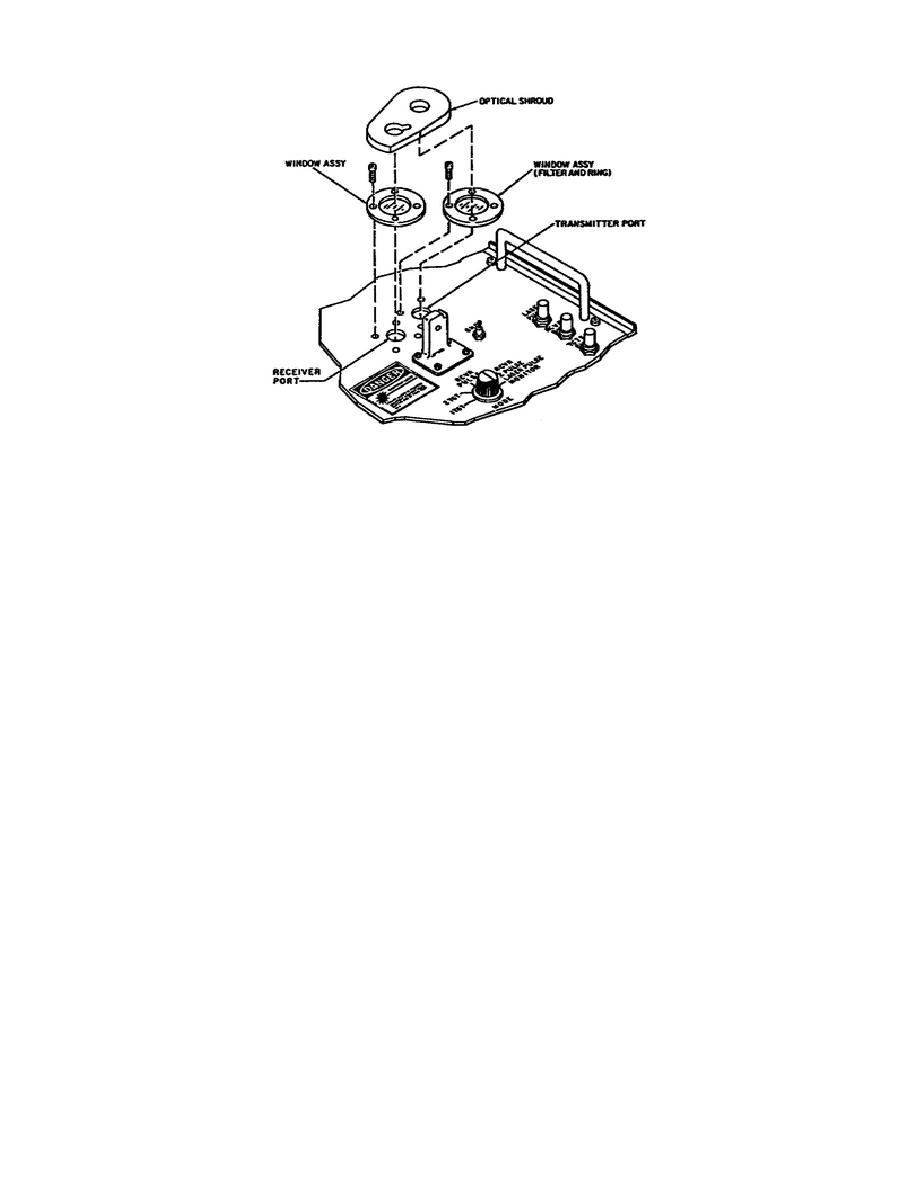
Figure 1-27.
Optical Shroud and Window Assembly.
--
If the window is to be removed, go to step 4.
--
Use care to avoid splatter on the window. Use naphtha and
soft tissue to clean the contact surface on the panel for
the optical shroud.
--
Remove the mounting screws for the window assembly. Lift
out the screws and the window assembly.
Perform step 3
above and clean mounting surface.
Replacement.
--
If only the optical shroud is to be replaced, go to step
2.
Set the window assembly in the window port
(transmitter and/or receiver port), aligning the holes in
the window assembly with the holes in the panel. Use four
screws and secure the window assembly to the panel.
--
Peel off the paper backing which protects the gum on the
back surface of the optical shroud. Align the shroud with
the windows and the screw slot on the panel.
Lay the
sticky side down on the panel.
Press down firmly on the
entire face of the shroud to make sure it sticks to the
panel completely.
3-35. Handle removal/replacement.
Removal.
Remove two screws (75) and the handle (74).
Replacement.
Secure handle with two screws.
53
OD1716


 Previous Page
