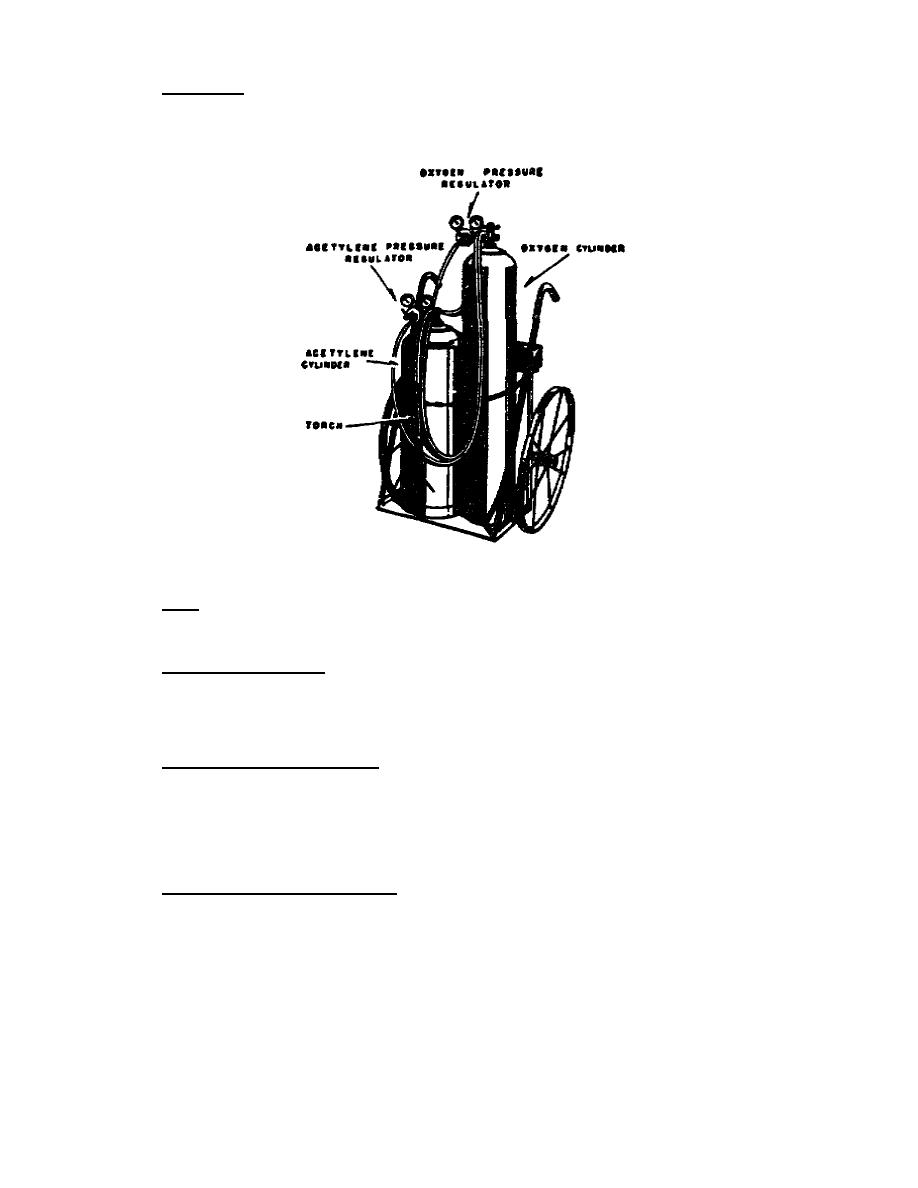
a. Cylinders. Place the oxygen and acetylene cylinders, if they are not
mounted on a truck, on a level floor and tie them firmly to a workbench, post,
wall, or other secure anchorage to prevent their being knocked or pulled over.
A
truck loaded with equipment is shown in figure 8.
Figure 8.
Complete truck, cylinders etc, with welding torch.
b. Caps. Remove the valve protecting caps. At times the caps stick in place
and a wrench must be used to remove them. Quite often, tapping slightly on the
side of the cap, just over the threads, will assist in removing it.
c. Opening the valves. Both the oxygen and acetylene valves should be opened
slightly and then quickly closed. This will blow out any dirt or grit which may
have accumulated in the cylinder valve outlet nipple. Opening the valves in this
manner before the regulators are put in place also insures that the second time
they are opened they will turn easier and may be opened slowly.
d. Attaching the regulators. Both the oxygen and acetylene regulators are
attached to the cylinder valve outlet nipple of their respective cylinder. To
prevent attaching the wrong regulator to the cylinder, the size of the nut, and
sometimes the threads, differ. Be sure that these threads are not crossed and that
the regulator inlet nipples are firmly in place in the outlet nipples of the
cylinder valves. Screw up the regulator connecting nut with a wrench until the
union is gastight.
e. Blowing out the regulators. Both adjusting screws are fully released by
turning them to the left until there is no pressure on the regulator spring within
the bonnet. The cylinder valves are then opened slowly, permitting the gases to
enter the regulators. A slight turn to the right of each regulator adjusting screw
will open the regulator valve, or seat, slightly, permitting the escape of the
gases through the outlet nipples of the regulators. The adjusting screws are then
released.
113


 Previous Page
