PRECISION MEASURING AND GAGING - OD1642 - LESSON 1/TASK 2
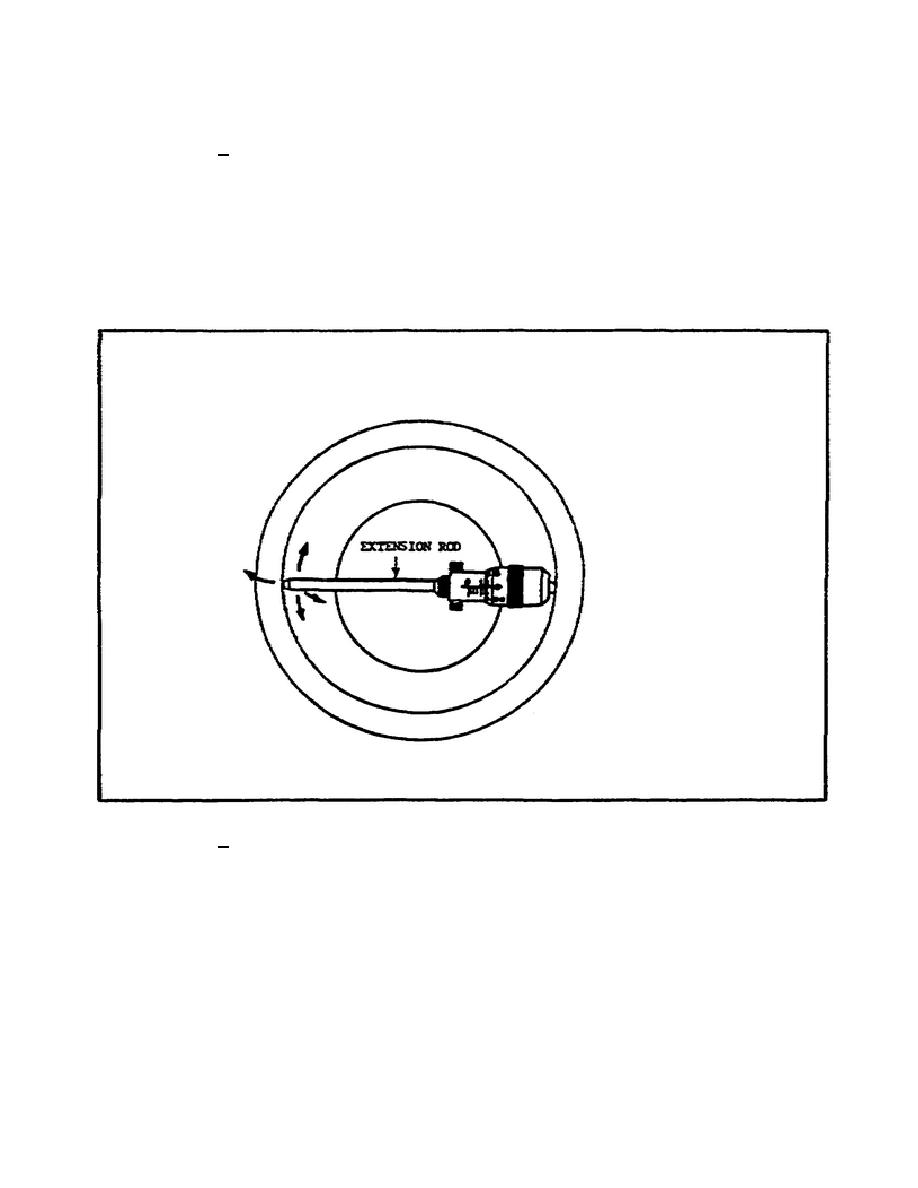
1 Figure 43, on the following page, shows an inside
micrometer with an extension rod being used to check the diameter of a bored
hole. Note the arrows which indicate the direction the operator is feeling
for the largest dimension horizontally and the smallest dimension
vertically. Inside micrometers have spherical contact points which require
more practice to "feel" the full diametrical measurement. One contact point
is generally held in a fixed position and the other rocked in different
directions to be sure that the tool is spanning the true diameter of the
hole or the correct width of a slot.
FIGURE 43.
USING INSIDE MICROMETERS WITH EXTENSION LEGS RODS.
2 For probing a deep hole or in a restricted place, a handle
attachment may be used. The handle clamps onto the body of the micrometer.
(4) Transferring Measurements.
To transfer a measurement from an
inside to an outside micrometer, the following steps can be followed:
Step 1.
After setting the inside micrometer or an inside caliper to the
work, hold the outside micrometer with one hand and the inside micrometer
with the other hand.
65


 Previous Page
