PRECISION MEASURING AND GAGING - OD1642 - LESSON 1/TASK 2
rod from left to right and in and out of the hole.
The micrometer is
adjusted to a slightly larger measurement after each series of rocking
movements until no rocking from left to right is possible and a very slight
drag is felt on the in and out rocking movement.
There are no specific
guidelines on the number of positions within a hole that should be measured.
When checking for a taper, the measurements should be made as far apart as
possible within the hole. When checking for roundness or concentricity of a
hole, several measurements should be taken at different angular positions in
the same area of the hole. A reading can be taken directly from the inside
micrometer head, or an outside micrometer may be used to measure the inside
micrometer.
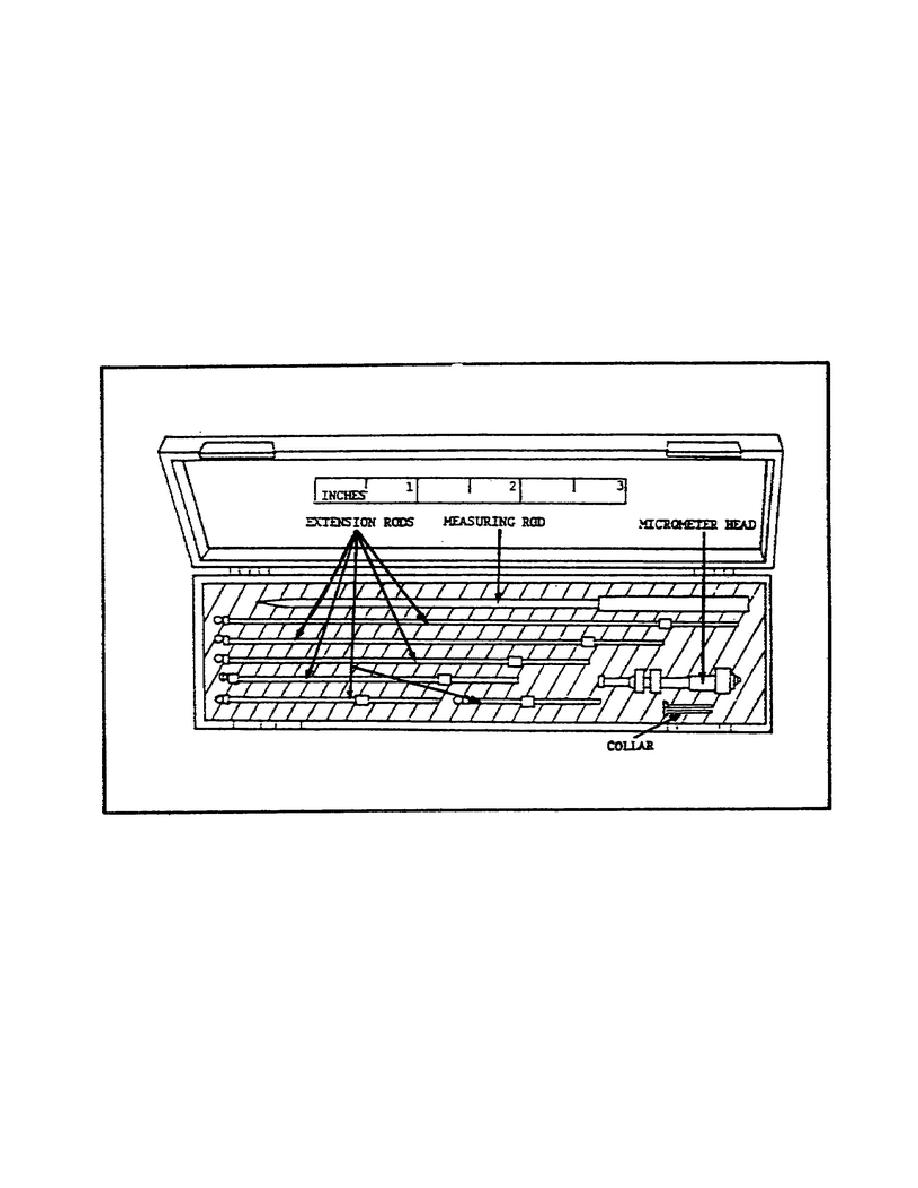
FIGURE 42.
INSIDE MICROMETER SET.
(b) The normal procedure in using an inside micrometer is to set
it across a diameter or between the inside surfaces, remove it, then read
the dimension. For this reason, the thimble on an inside micrometer is much
stiffer than the one used on an outside micrometer and it holds the
dimensions well.
It helps at times to verify the reading of an inside
micrometer by measuring it with an outside micrometer.
64


 Previous Page
