PRECISION MEASURING AND GAGING - OD1642 - LESSON 1/TASK 2
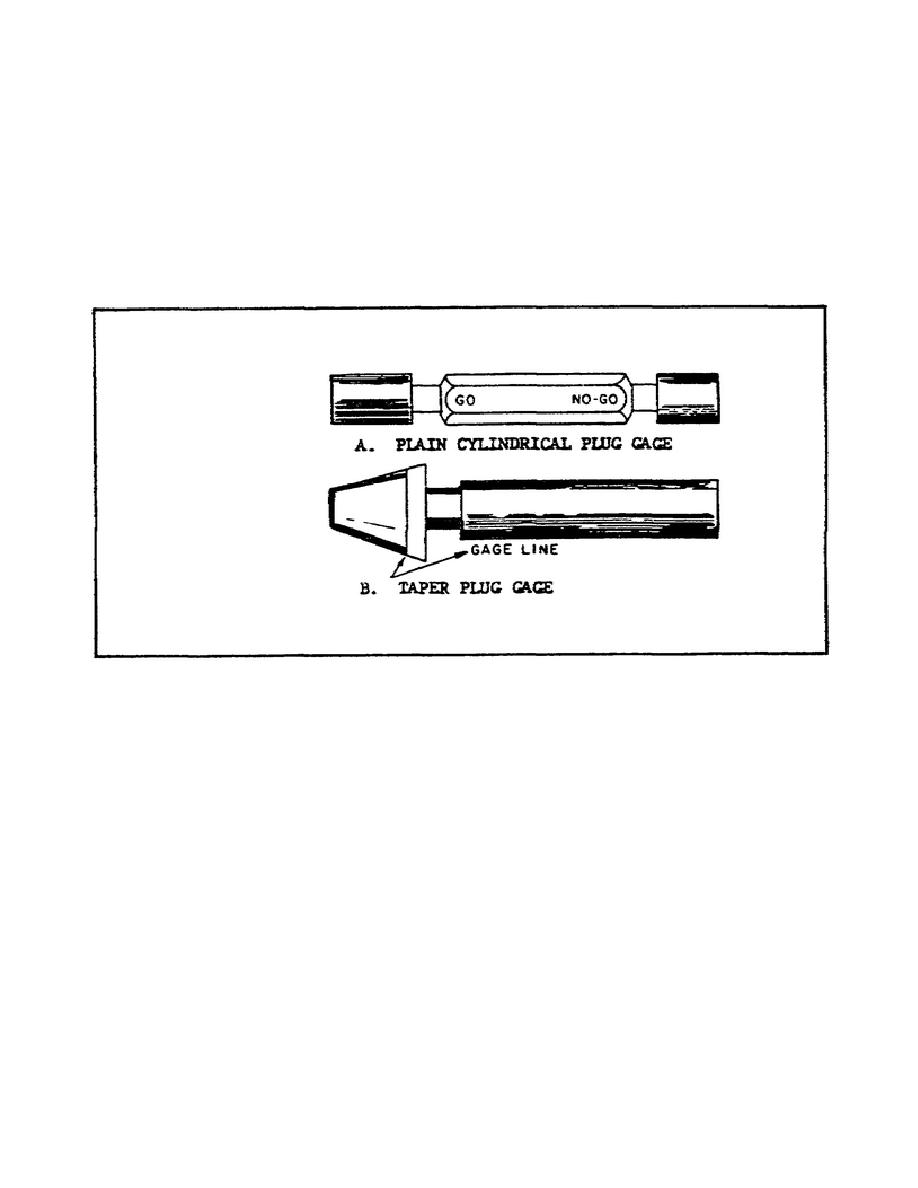
shaft-shaped bar that has a precisely ground diameter for checking inside
diameters or bores.
(12) Micrometer Standards.
Micrometer standards are either disk or
tubular shaped gages that are used to check outside micrometers for
accuracy. Standards are made in sizes so that any size micrometer can be
checked. They should be used on a micrometer on a regular basis to ensure
continued accuracy.
FIGURE 29.
PLUG GAGES.
(13) Gage Blocks.
(a) Gage blocks (figure 30 on the following page) are available in
sets from 5 to 85 blocks of different dimensions. Precision gage blocks are
made from a special alloy steel.
They are hardened, ground, and then
stabilized over a period of time to reduce subsequent waxing.
They are
rectangular in shape with measuring surfaces on opposite sides.
The
measuring surfaces are lapped and polished to an optical flat surface and
the distance between them is the measuring dimension.
The dimension may
range from 0.010 of an inch up to 20 inches.
(b) Gage blocks are used as master gages to set and check other
gages and instruments. They are accurate from eight millionths (0.000008)
of an inch to two millionths (0.000002) of an inch, depending on the grade
of the set. To visualize this minute amount, consider that the thickness of
42


 Previous Page
