USE/CARE OF HANDTOOLS & MEASURING TOOLS - OD1621 - LESSON 3/TASK 1
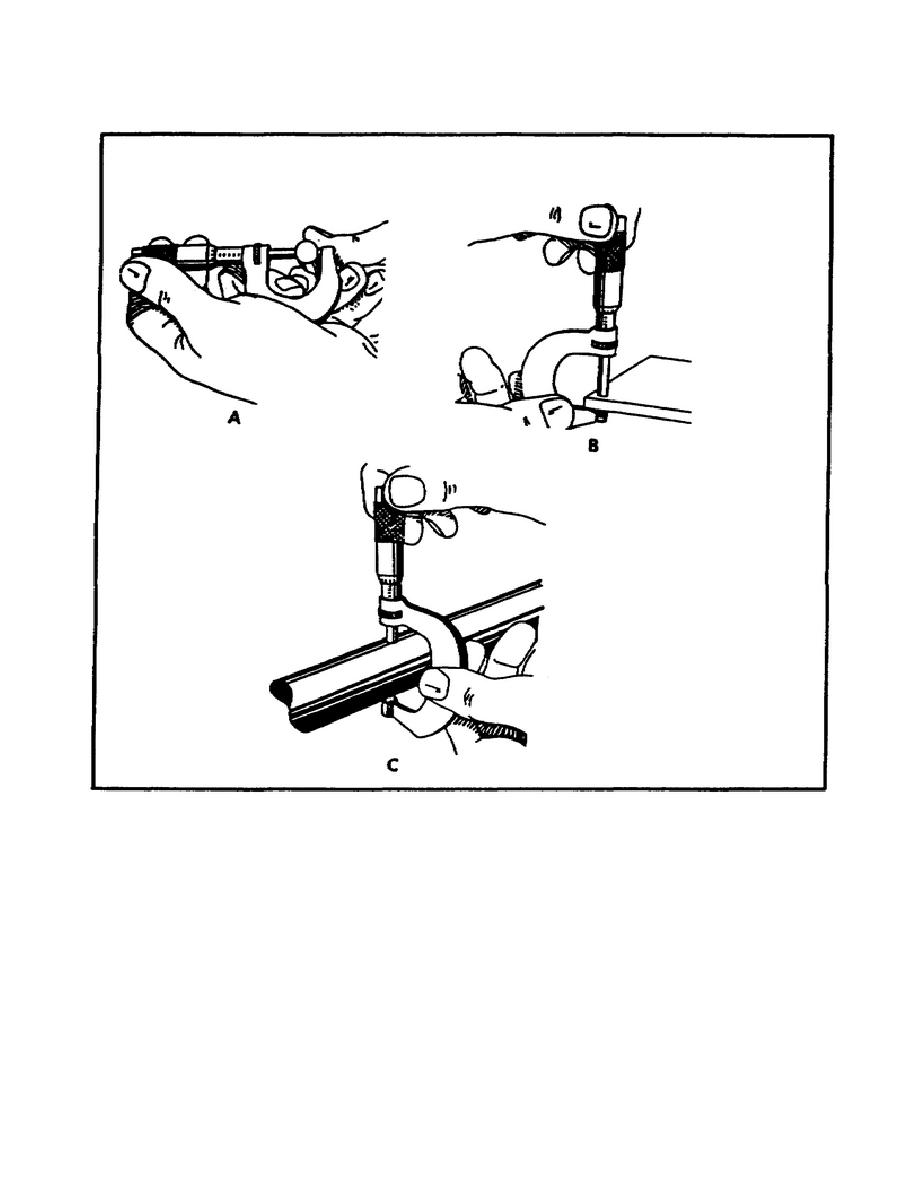
FIGURE 193.
USING OUTSIDE MICROMETER.
cylindrical part with a micrometer, it is necessary to "feel" the setting to
be sure that the spindle is on the diameter, and to also check the diameter
in several places to determine the amount of out-of-roundness.
(d) For measuring very large diameters, micrometer calipers are
made in various sizes up to 168 inches. Figure 194 on the following page
shows a pulley being checked with a micrometer whose range has been reduced
by a special anvil which has been screwed into the frame.
A set of
different length anvils permits the use of this micrometer over a wide range
of sizes; yet the spindle only moves 1 inch.
This micrometer has been
lightened in weight by the I-section construction and by boring holes in the
frame.
247


 Previous Page
