USE/CARE OF HANDTOOLS & MEASURING TOOLS - OD1621 - LESSON 3/TASK 1
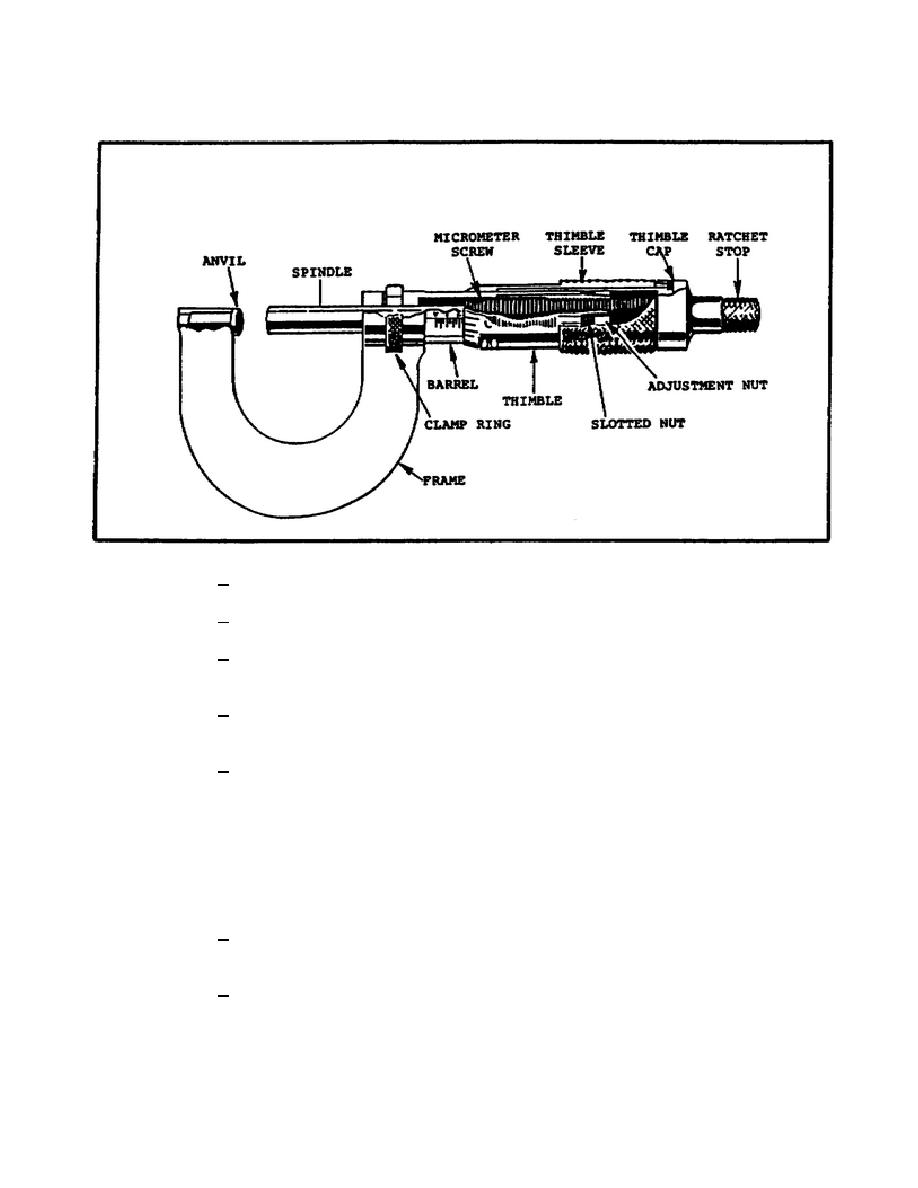
FIGURE 190.
MICROMETER CALIPER, CUTAWAY VIEW.
1 A stainless steel frame to resist corrosion or tarnish.
2 A ratchet for applying a constant measuring pressure.
3 A special vernier scale for reading tenths of thousandths
of an inch.
4 A clamp ring or locknut for clamping the spindle to hold a
setting.
5 Cemented carbide tips on the measuring anvils to reduce
wear.
(b) The frame can be smaller to the extent that the range of the
caliper is only 0 to 1/2 inch or 0 to 13 millimeters, or it can be larger so
that the range is 23 to 24 inches. The head has a constant range of 0 to 1
inch.
The shape of the frame may be varied to adapt it to the physical
requirements of some types of work. For example:
1 The frame back of the anvil may be cut away to allow the
anvil to be placed in a narrow slot.
2 The frame may have a deep throat to permit it to reach into
center sections of a sheet (sheet metal or paper gage).
241


 Previous Page
