PRIN. OF DRAFTING AND SHOP DRAWINGS - OD1641 - LESSON 1/TASK 3
Step 1. On one of the orthographic views (the one
that shows the round surface as
part of a circle) mark off a series of points along
the rounded surface (figure 52,
view A, on the previous page).
The points need
not be equidistant.
The more
points you take, the more accurate will be the
final isometric ellipse.
If
necessary, make a full-sized supplementary layout
Step 2.
Draw a rectangular box (view B).
Step 3.
Dimension each point horizontally and vertically as shown (view C).
Step 4.
Transfer the dimensional values to the isometric axis as shown (view D).
Step 5.
Using a French curve as a guide, draw in the isometric arc (view E).
Step 6. Transfer the points to the back surface and, again using a French curve as
a guide, draw in the isometric arc (view F).
Step 7. Erase all excess lines and smudges, check your work, draw in the remaining
lines of the object lightly at first, then darken them to their final color and
pattern (view G).
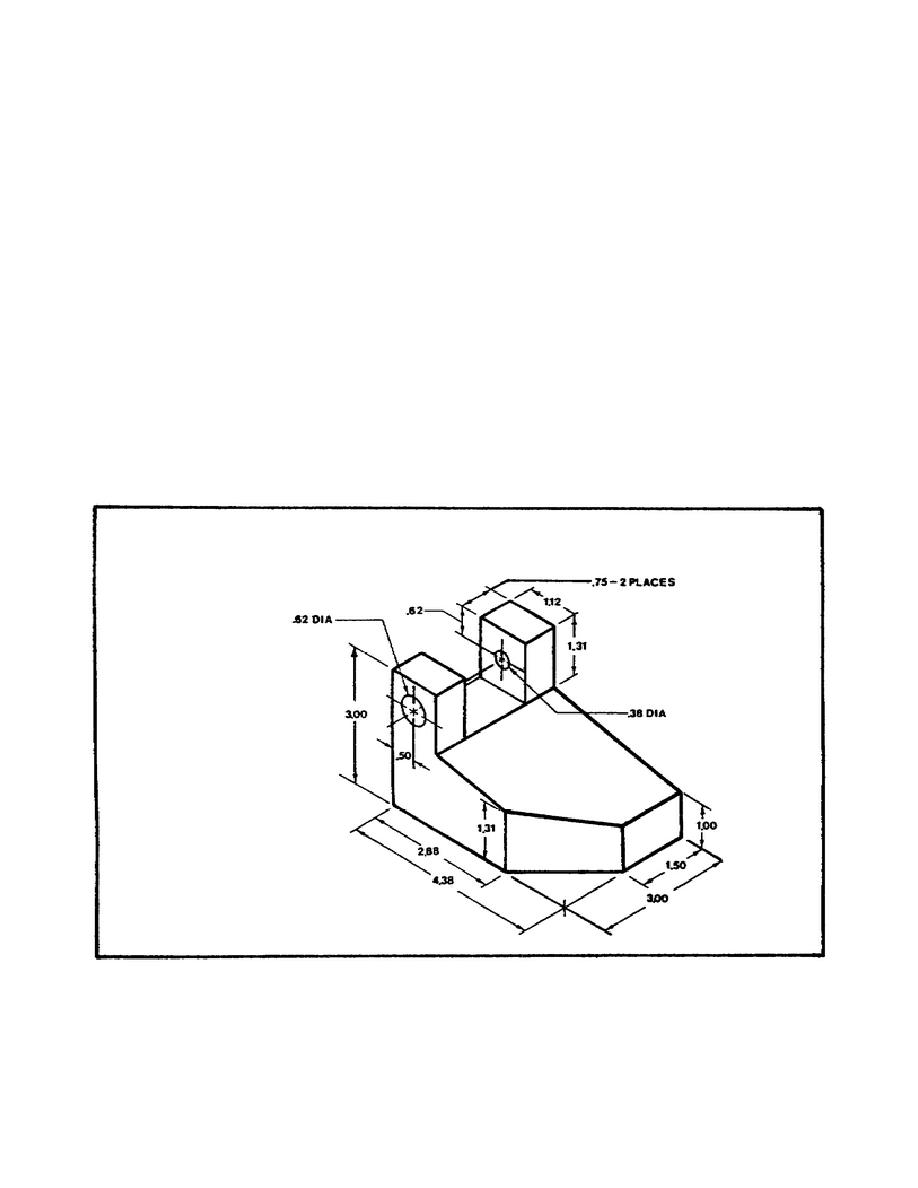
FIGURE 53.
ISOMETRIC DIMENSIONS.
62


 Previous Page
