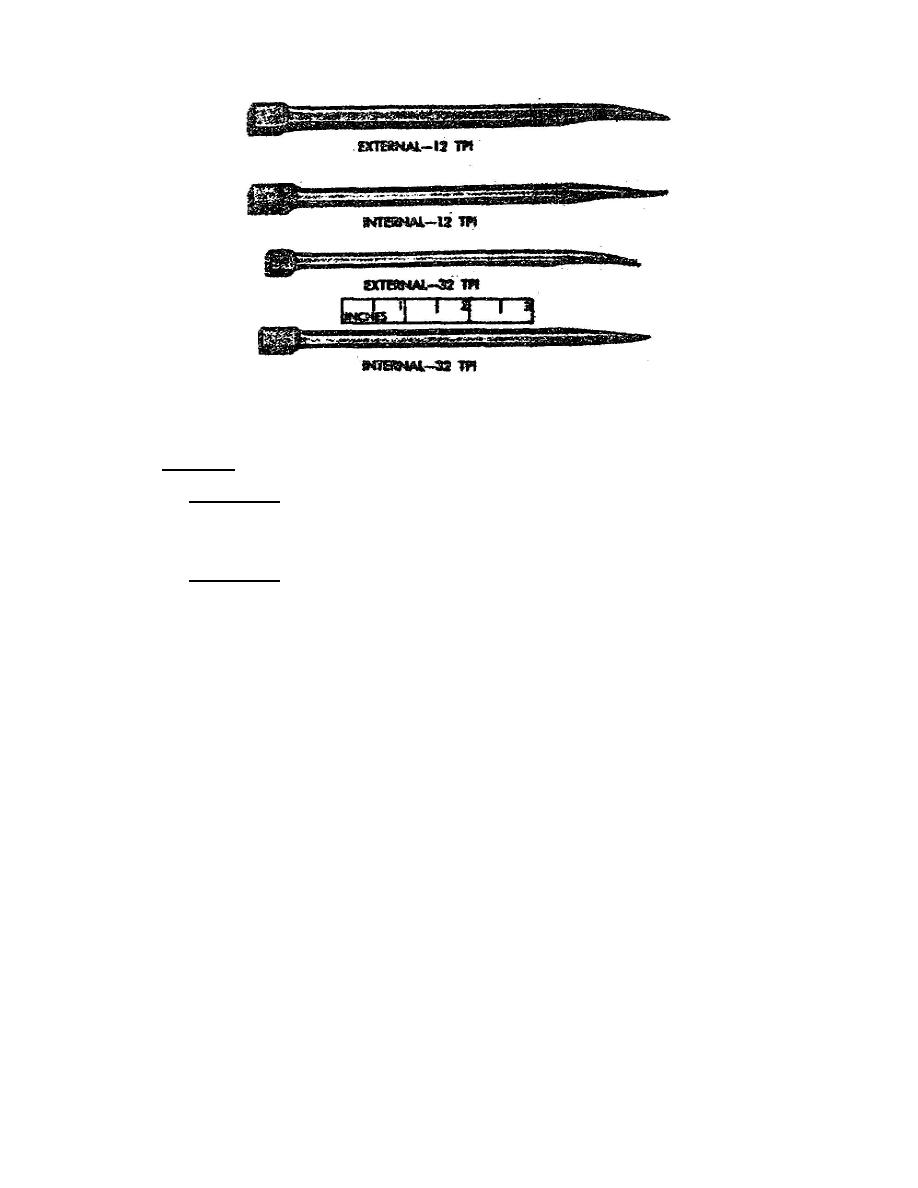
Figure 42.
Thread chasers.
12.
JOINING.
a. Fittings.
(1) Principles. Fittings are generally screwed to one end of the pipe
while it is still in the vise after cutting, reaming, and threading. The assembled
pipe and fittings are then screwed into the proper place on the equipment. The
steps below describe how to make up leakproof joints.
(2) Procedure.
(a) Inspect the female thread on the fitting and, if necessary, clean it
with a stiff brush.
(b) Repeat the same procedure for the male thread on the pipe.
(c) Coat the male thread evenly with pipe joint compound.
Do not put
any compound on the female thread.
(d) Screw the fitting on the pipe, making sure that the fitting turns
easily for the length of about three threads.
(e) Using a wrench, tighten the fitting on the pipe until the joint is
tight. Figure 43 shows three common wrenches which were covered in lesson 1. The
stillson wrench {1, fig 43) is used for ordinary work; the strap wrench (2, fig 29)
for polished or plated pipe; and the chain wrench or chain tongs (3, fig 43) for
pipe 3 inches or larger. Use the right size wrench for the size of pipe and never
use a length of pipe as an extension handle for added leverage. Use a second
wrench to keep an already installed pipe or fitting from turning. If a pipe has
been threaded to the correct length, two or three threads will show beyond the face
of the fitting.
(f) Wipe off excess joint compound and paint the exposed threads with an
acid-resistant paint.
86


 Previous Page
