PRECISION MEASURING AND GAGING - OD1642 - LESSON 1/TASK 2
checking a bore for out-of-roundness or taper, is the dial bore gage. The
dial bore gage (figure 6) does not give a direct measurement; it gives the
amount of deviation from a preset size, or the amount of deviation from one
part of the bore to another. A master ring gage, an outside micrometer, or
a vernier caliper can be used to preset the gage. A dial bore gage has two
stationary spring-loaded points and an adjustable point to permit a
variation in range. These three points are evenly spaced to allow accurate
centering of the tool in the bore.
A fourth point, the tip of the dial
indicator, is located between the two stationary points. By simply rocking
the tool in the bore, the amount of variation on the dial can be observed.
Accuracy to one ten thousandth (0.0001) of an inch is possible with some
models of the dial bore gage.
FIGURE 6.
DIAL BORE GAGE.
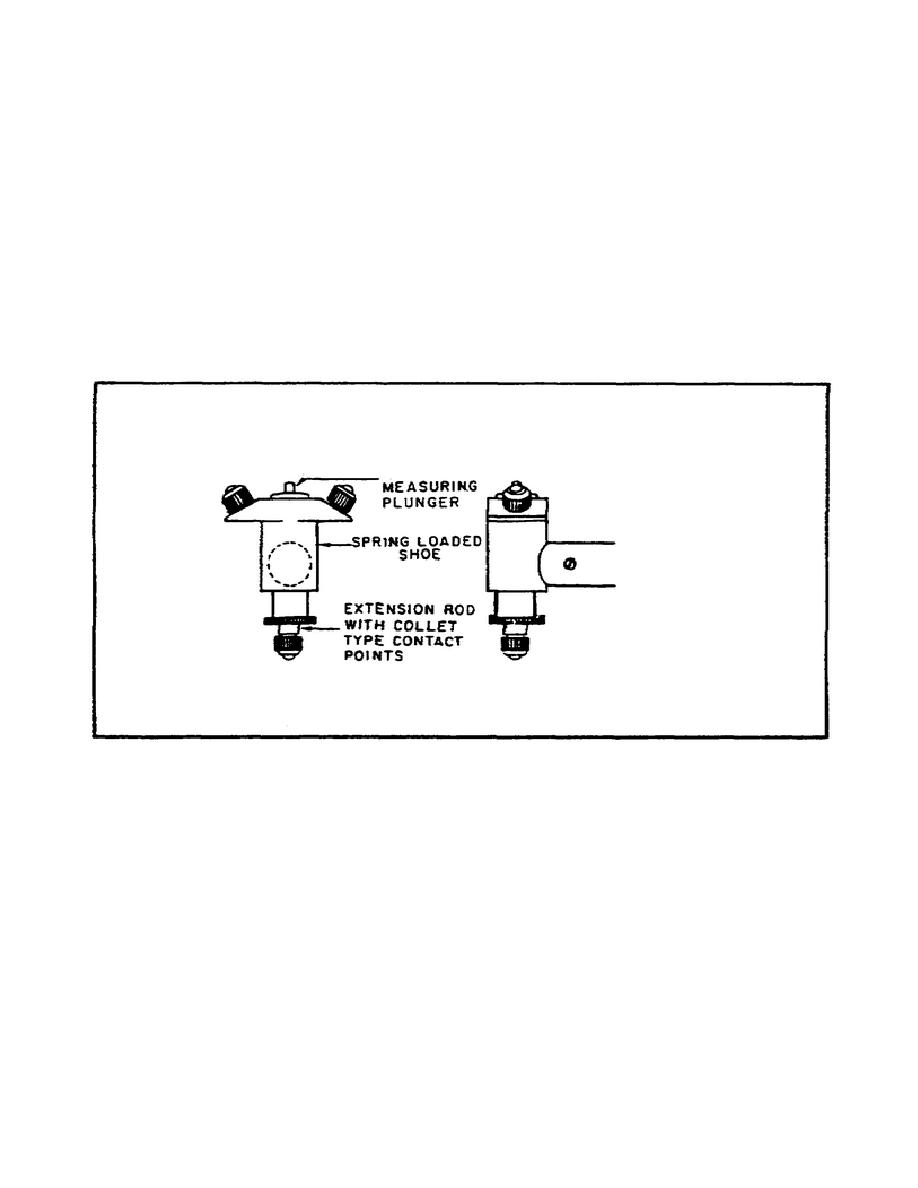
(7) Internal Groove Gage.
The internal groove gage is very useful
for measuring the depth of an O-ring groove or of other recesses inside a
bore.
This tool allows one to measure a deeper recess, or one that is
located farther back into the bore, than would be possible with an inside
caliper.
As with the dial bore gage, this tool must be set with gage
blocks, a vernier caliper, or an outside micrometer. The reading taken from
the dial indicator on the groove gage represents the difference between the
desired recess or the groove depth and the measured depth.
17


 Previous Page
