BANDSAW OPERATIONS - OD1646 - LESSON 1/TASK 1
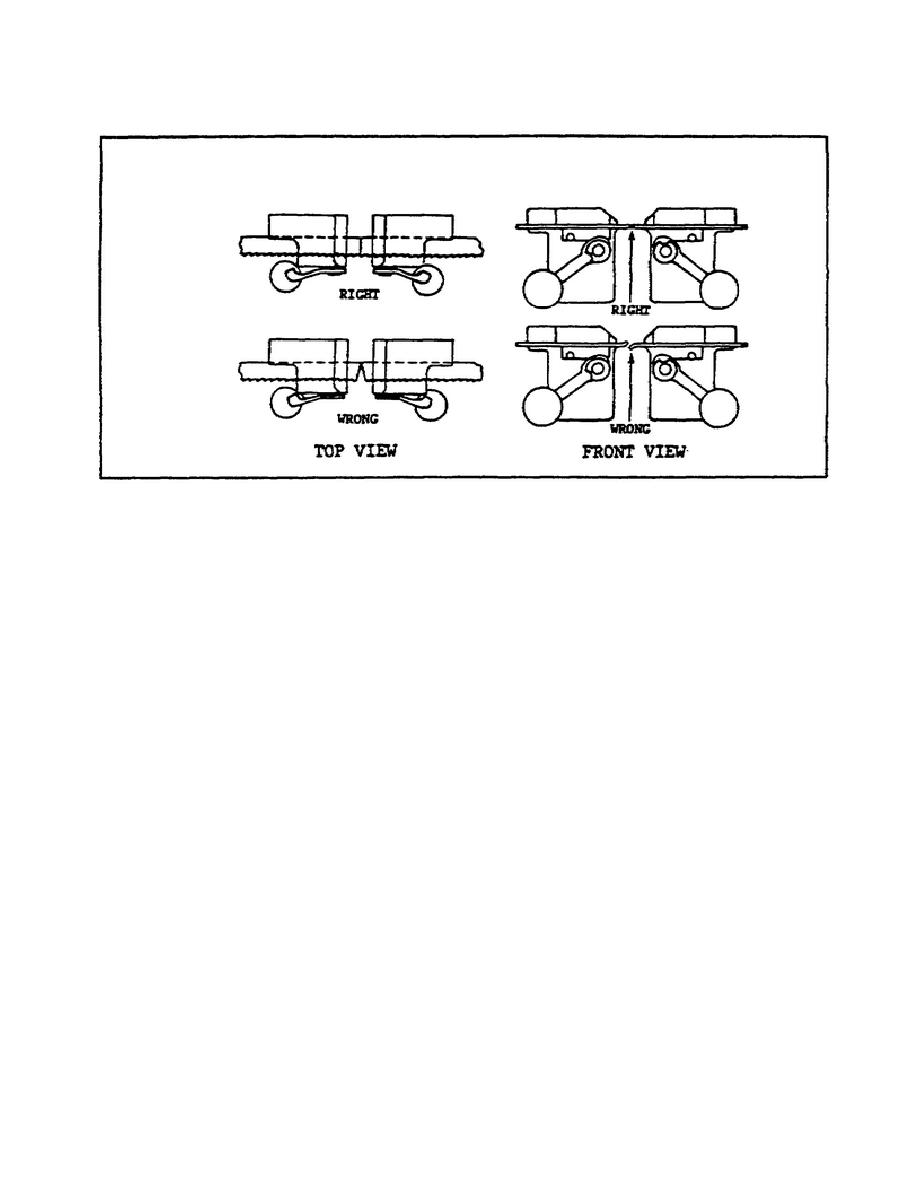
FIGURE 25.
SAW BLADE ALIGNMENT.
(c) If the contact across the width is not complete when the ends are
clamped in the jaws, remove one end and recut it. A misaligned joint will
cause an incomplete weld.
(d) After the blade ends are lined up, clamp them securely, but not so
tightly as to harm the set, between the welder jaws.
(5) Making the Weld. After the blade ends have been aligned, press and
hold down the weld lever (refer to figure 24 on page 32) to make the weld.
The lever should be held down until the weld has cooled. The stationary jaw
clamp should be released before the weld lever is released.
This will
prevent scoring the welder jaw surface. Then release the weld lever. When
the lever is released, the butt welder mechanism and electrical switches
will be automatically recocked, and the band will be ready to be annealed.
Remove the welded saw band. Two general statements about welding the band
should be noted:
(a) Cut out the old weld as each new weld is made. Since only one weld
is recommended in a saw band, use the blade shear to cut away small portions
of the ends of the old weld. Since the welding operation uses up no more
than 1/16 inch of the band, it will not shorten the band appreciably, even
after several welds have been made.
Starting with a full size saw band,
approximately three to four inches of band can be used in making welds
34


 Previous Page
