PRIN. OF DRAFTING AND SHOP DRAWINGS - OD1641 - LESSON 1/TASK 4
(6) Baseline System.
The baseline system of dimensioning is illustrated in
figure 73 (on the previous page).
All dimensions in the same plane are located
from the same line which is called a baseline. It is sometimes called a reference
line or datum line.
This system is particularly useful because it eliminates
tolerance buildup, it is easy for manufacturers and inspectors to follow, and it is
easily adaptable to the requirements of numerical tape machines.
Its chief
disadvantage is that the amount of space used on the drawing paper is larger--
usually at least twice the area of the surface being defined.
Also, once it is
setup, it is difficult to alter.
When you use the baseline system, be careful to include all needed dimensions and
be sure to use a large enough piece of paper.
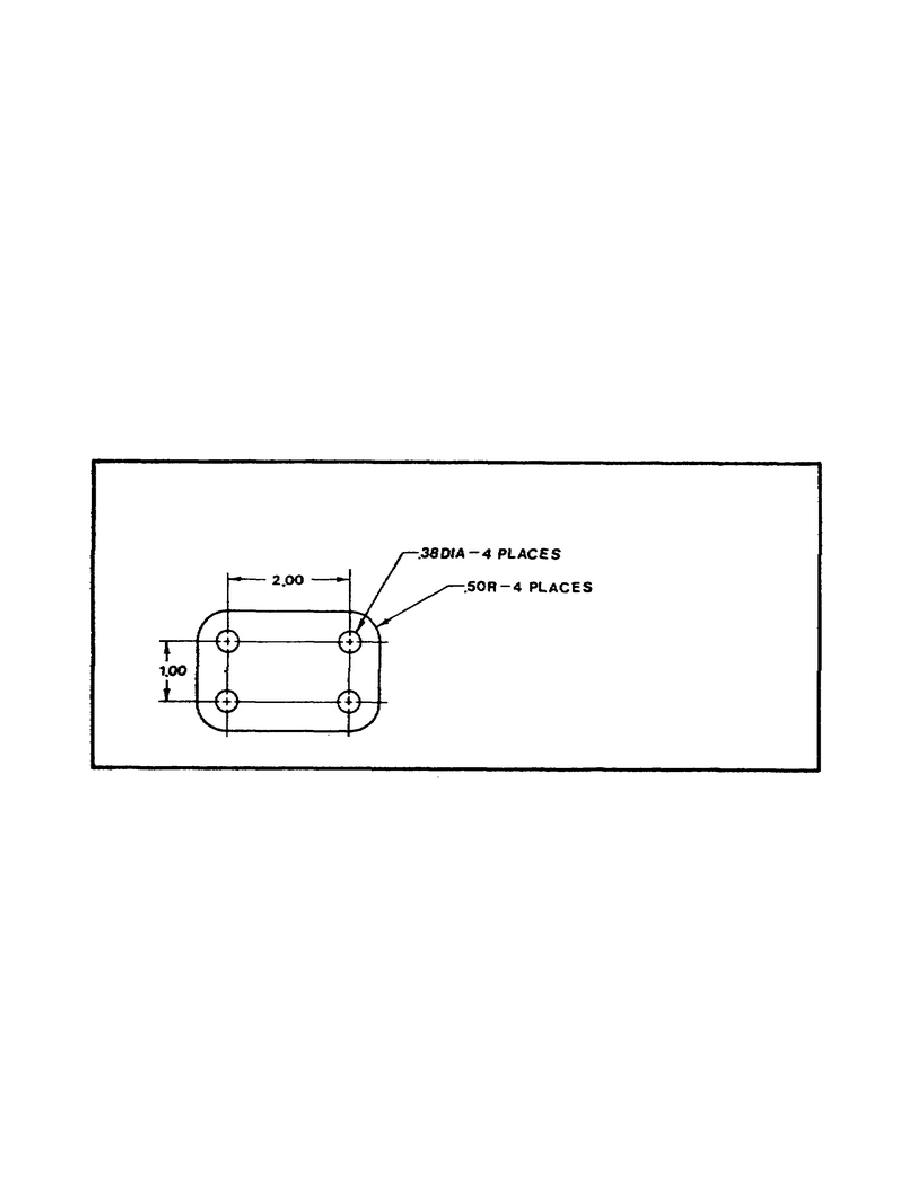
(7) Hole-to-Hole System.
The hole-to-hole system is illustrated in figure 74.
It is a modification of the baseline system used to dimension parts whose hole-to-
hole distances are critical; for example, a part that must be aligned with the
shafts or dowels of another part for proper assembly.
FIGURE 74.
HOLE-TO-HOLE SYSTEM.
In the hole-to-hole system, all dimensions in the same plane are measured for the
lines that define the critical holes.
The baseline is not, in this case, a
physical line, but is the center line between the critical holes.
83


 Previous Page
