PRIN. OF DRAFTING AND SHOP DRAWINGS - OD1641 - LESSON 1/TASK 4
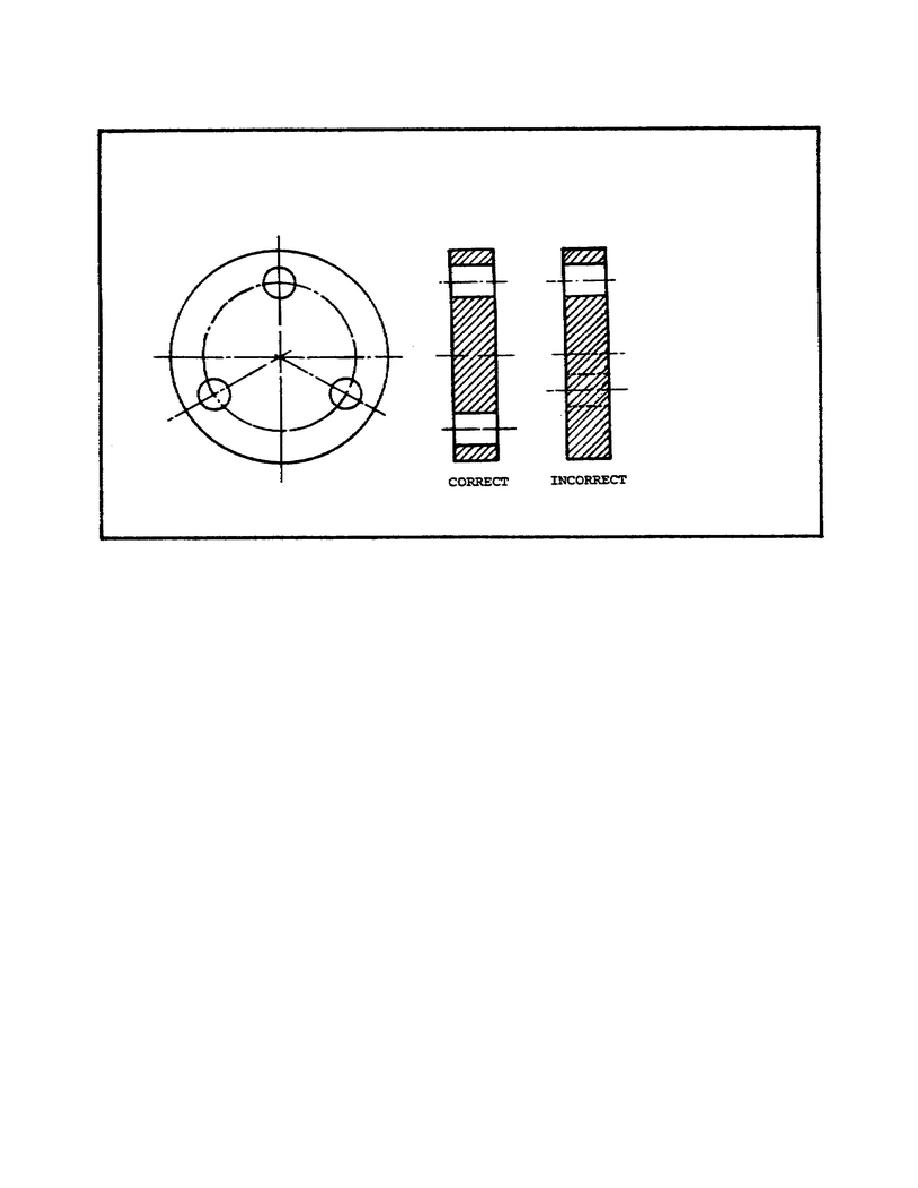
FIGURE 85.
ALIGNED SECTION.
NOTE
When sectional views are made, the part that is cut by the
cutting plane is marked with diagonal parallel section
lines. The process of making these lines is termed "cross
hatching." Shafts, bolts, nuts, screws, keys, pins, rivets,
balls, etc., the axes of which lie in the cutting plane,
have no interior parts to be shown and consequently are
left in full on assembly sections, as if they had been
removed when the section was cut off and afterward laid
back in place.
4.
Conventional Breaks
In describing the shape of an object, such as a long bar or similar object that is
small in cross section but of considerable length, the draftsman is faced with two
problems: first, if drawn to full size, it would require a large sheet of paper
with considerable space wasted; second, if drawn to a small scale, it would be too
small for dimensioning clearly.
If the object is uniform in shape, there is no
necessity for drawing its entire
93


 Previous Page
