PRIN. OF DRAFTING AND SHOP DRAWINGS - OD1641 - LESSON 1/TASK 3
as they approach infinity.
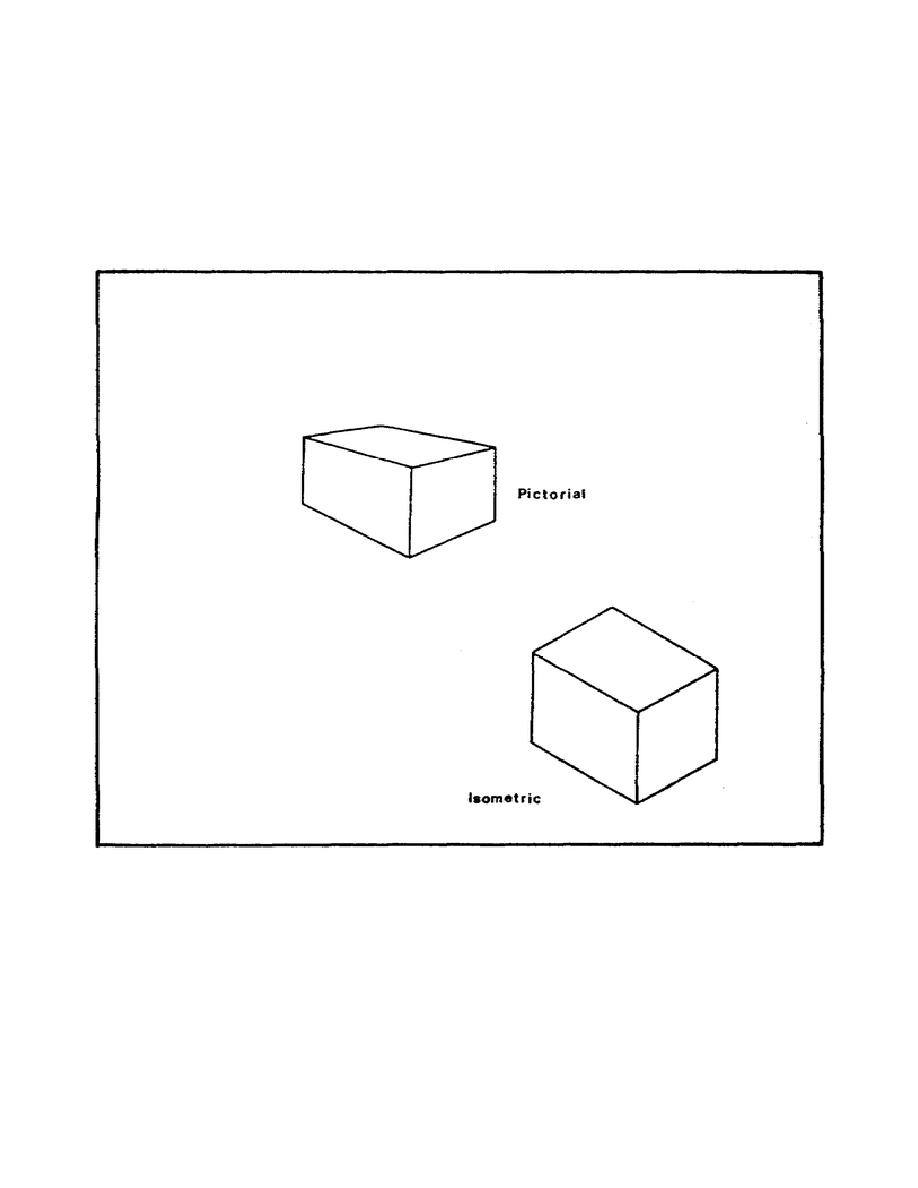
Figure 35 shows a comparison between an isometric
drawing of a rectangular box and a pictorial drawing (such as an artist would draw)
of the same object; it demonstrates the distortion inherent in isometric drawings.
Note how the back corner of the isometric appears much larger than the back of the
pictorial drawing.
Despite the slight distortion, isometric drawings are a
valuable way to convey technical information.
FIGURE 35.
A COMPARISON BETWEEN AN
ISOMETRIC AND A PICTORIAL
DRAWING.
The basic reference system for isometric drawings is shown in figure 36 (on the
following page).
The three lines are 120, apart and may be thought of as a
vertical line and two lines 30, to the horizontal, which means that they may be
drawn by using a 30-60-90 triangle supported by a T-square. All isometric drawings
are based on this axis system.
46


 Previous Page
